Adding magic link authentication to Inertia Rails + React application
In the modern era, where each users have as many number of websites and application that they use on day to day basis, remembering passwords for them can become a headache. Magic link solves this issue.
Magic link allows users to enter their email and receive a one time valid link to login to their account.
Magic links are best suited for applications where users sign in occasionally, have reliable access to their email, and benefit from a simple, password-less login experience.
In this blog we will walk you through the step by step process to add magic link authentication to your Inertia Rails + React app. If you prefer to explore the finished code while following along, the complete example lives in the magic_link_example repository.
What is Inertia?
Inertia is a set of frontend and backend adapters that let you build fully client side rendered, single page application as a monolith without requiring you to build API. Inertia currently have three official client-side adapters (React, Vue, and Svelte) and four server-side adapters (Laravel, Rails, Phoenix, and Django).
Lets get started 🏁
Setting up an Inertia Rails + React app
Create a new rails app:
rails new magic_link_example
cd magic_link_example
Install the Inertia server-side adapter gem:
bundle add inertia_rails
This will install and add inertial_rails to Gemfile.
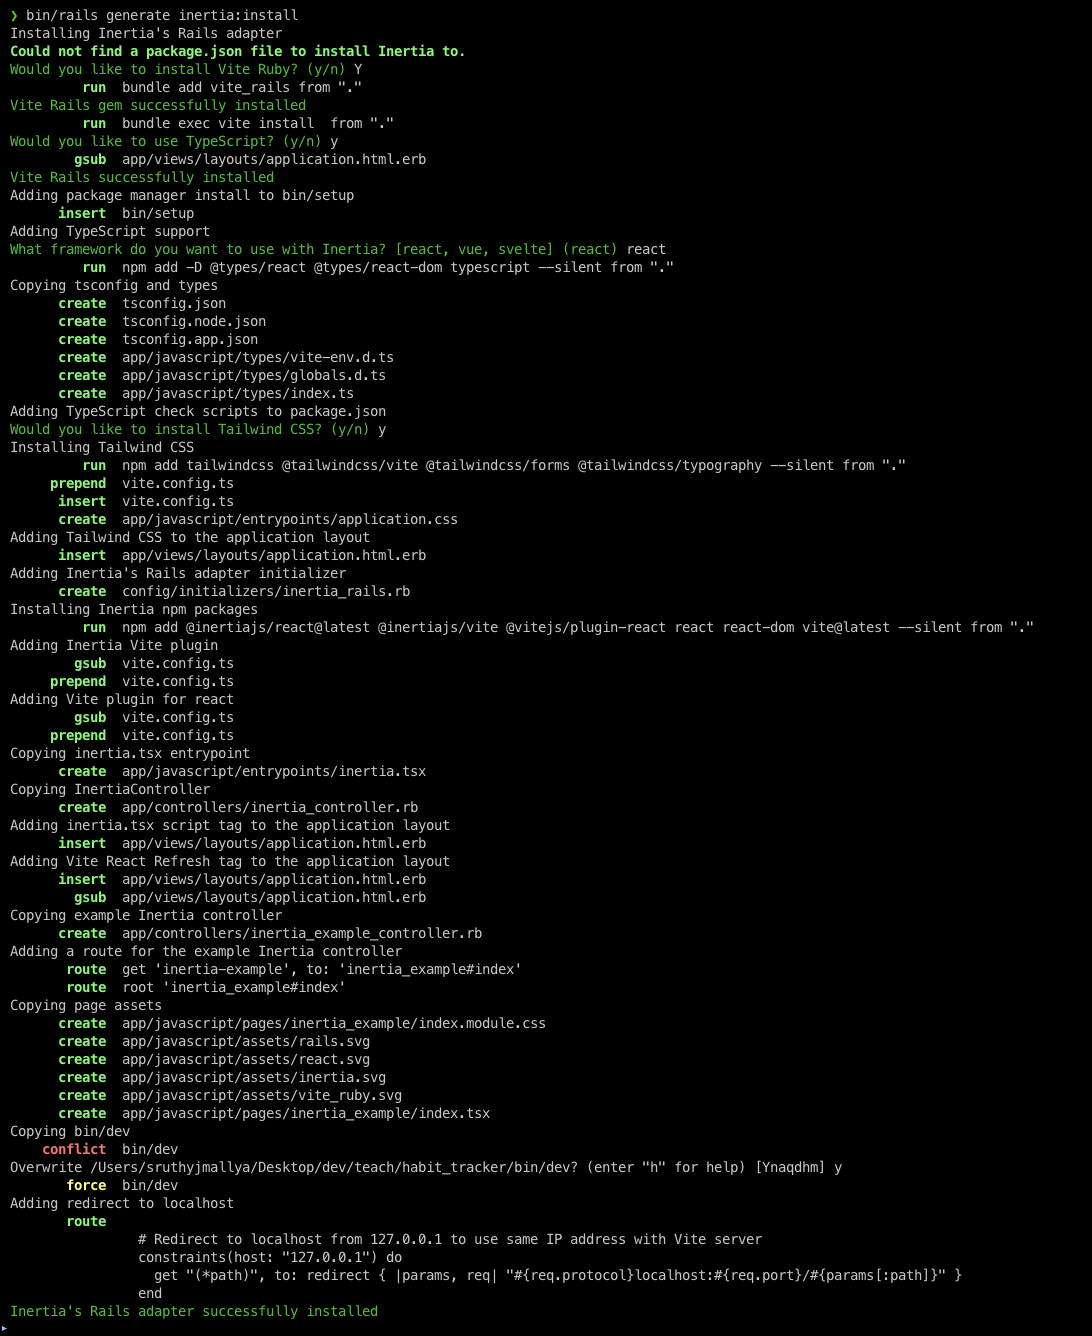
The inertia_rails gem comes with a generator to setup Inertia in a Rails application. Execute the following command in the terminal:
bin/rails generate inertia:install
This command will:
- Check for Vite Rails and install it if not present
- Ask if you want to use TypeScript
- Ask you to choose your preferred frontend framework (React, Vue, Svelte)
- Ask if you want to install Tailwind CSS
- Install necessary dependencies
- Set up the application to work with Inertia
- Copy example Inertia controller and views (can be skipped with the
--skip-exampleoption)
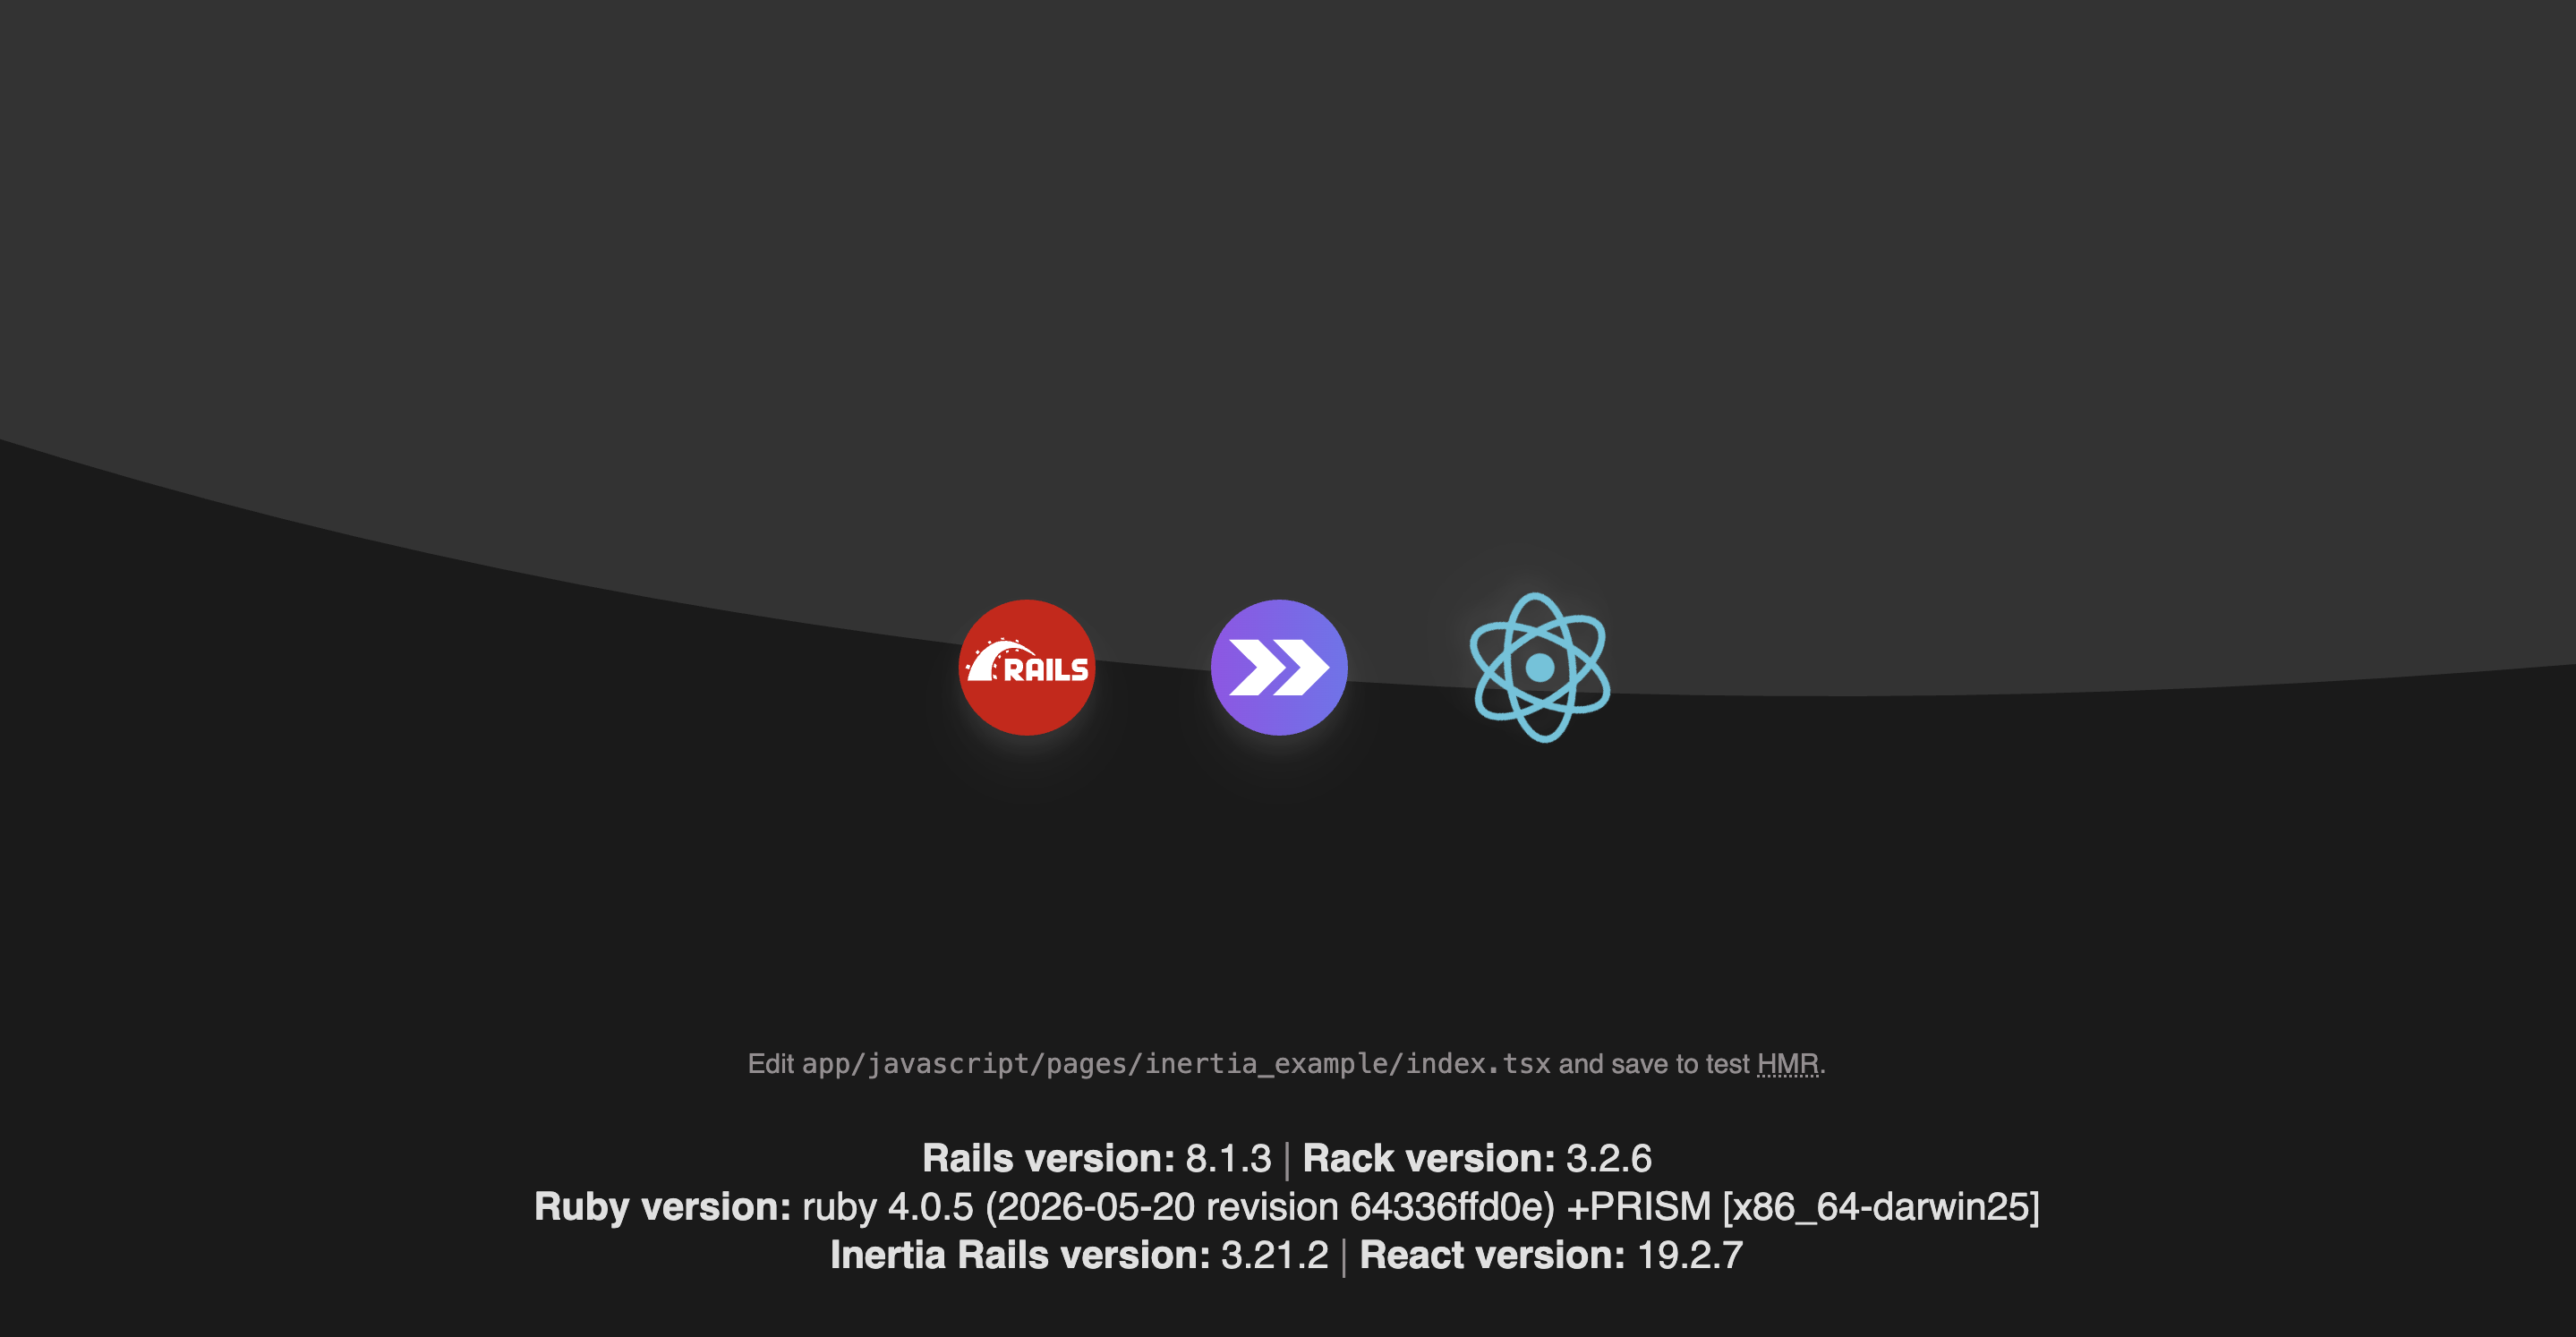
Now run bin/dev and head to http://localhost:3100/, you show see the Inertial Rails application up and running:
Review the Inertia components generated
Let’s look at the routes.
At the root path, index action of InertiaExamplesController is mounted:
Rails.application.routes.draw do

# remaining routes
root 'inertia_example#index'
get 'inertia-example', to: 'inertia_example#index'
# remaining roues

end
InertiaExampleController inherits the InertiaController and return the versions of the Rails, Ruby, Rack and Inertia:
# frozen_string_literal: true

class InertiaExampleController < InertiaController
  def index
    render inertia: {
      rails_version: Rails.version,
      ruby_version: RUBY_DESCRIPTION,
      rack_version: Rack.release,
      inertia_rails_version: InertiaRails::VERSION,
    }
  end
end
At this moment, InertiaController doesn’t do anything:
# frozen_string_literal: true

class InertiaController < ApplicationController
  # Share data with all Inertia responses
  # see https://inertia-rails.dev/guide/shared-data
  #   inertia_share user: -> { Current.user&.as_json(only: [:id, :name, :email]) }
end
Usually, we will keep the data that all the React component needs in this controller using inertia_share method and inherits the InertiaController from all the Rails controllers.
The root path hits the index action of InertiaExampleController and the application versions are send to the inertia. Inertia shares the data between server and the client as page object with the component name and props. Here, the component name will be inertia_example/index. These components should be kept in javascript/pages directory. The index component component renders a InertiaExample component which displays the versions passed from the InertiaExampleController and react version from frontend.
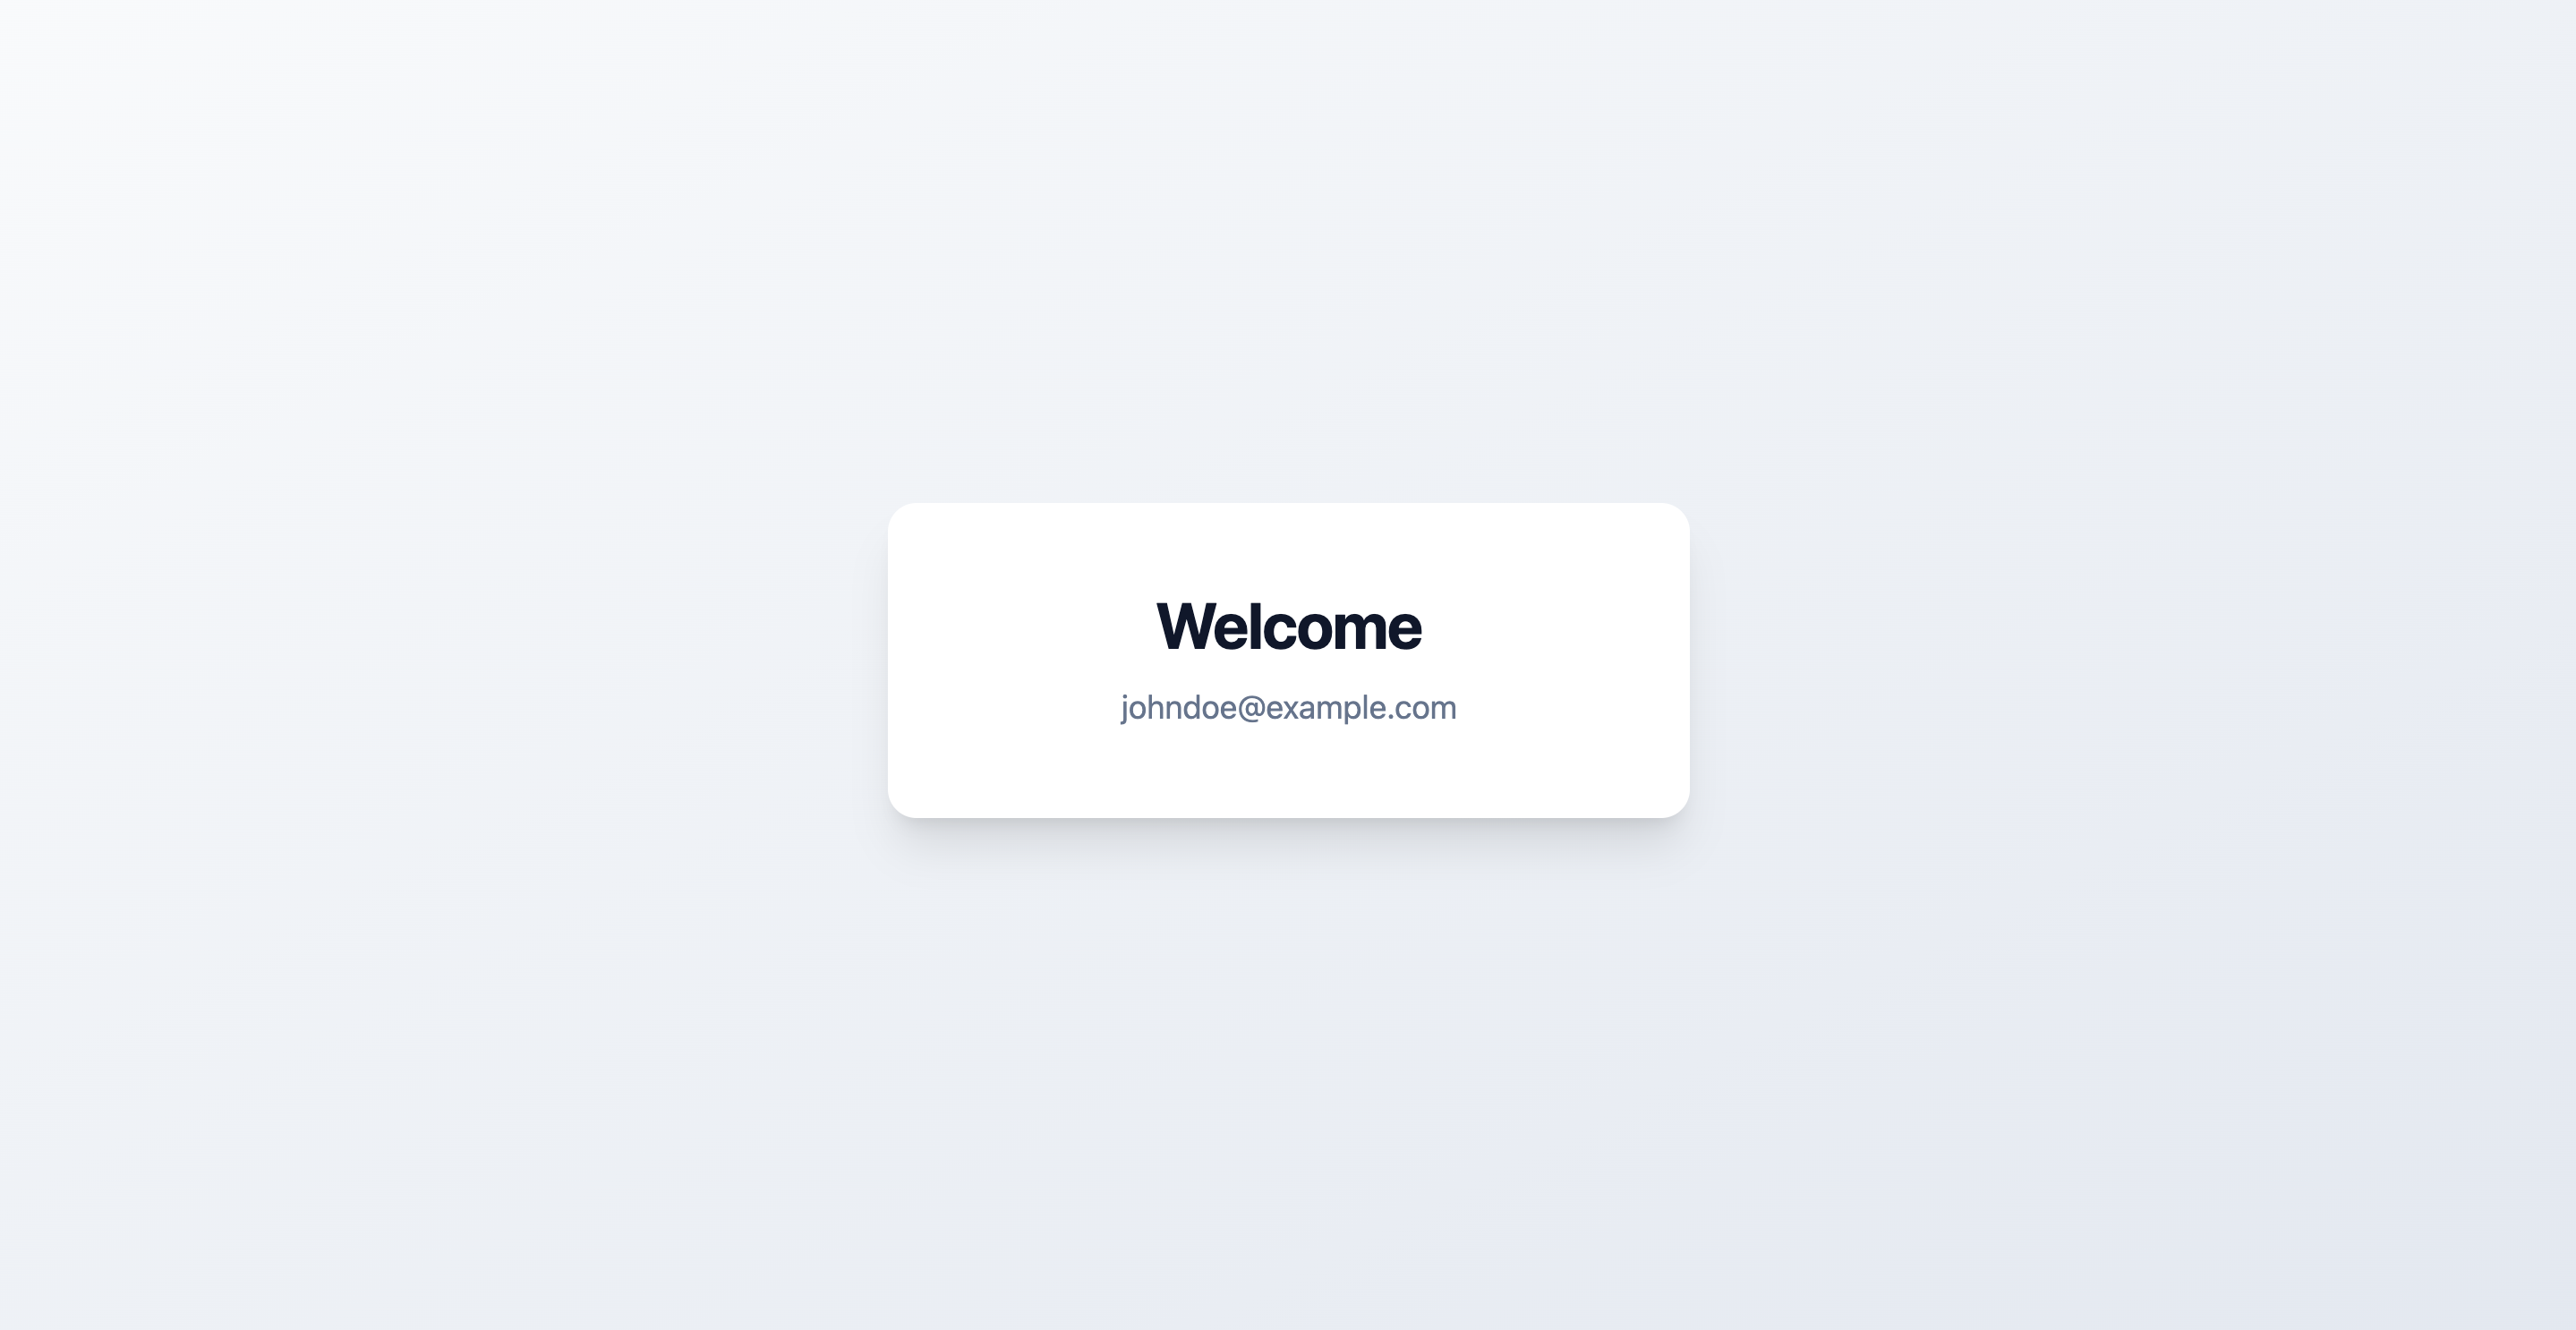
Now, let’s update this to have just a home controller that shows a welcome message to the user. We haven’t implemented authentication yet, we will display a placeholder email.
Let’s add a home controller that sends an email prop to the frontend:
class HomeController < ApplicationController
  def welcome
    render inertia: { email: "placeholder@example.com" }
  end
end
We will then mount this to the root path:

Now, we can safely remove the inertia example related controllers and components.
Let’s add the welcome component as well:
// javascript/pages/home/welcome.tsx

const Home = ({ email } : { email : string}) => {
  return (
    <div className="flex min-h-screen items-center justify-center bg-linear-to-br from-slate-50 to-slate-200 px-4 py-12">
      <div className="w-full max-w-md rounded-2xl bg-white p-8 text-center shadow-xl sm:p-12">
        <h1 className="text-3xl font-bold tracking-tight text-slate-900 sm:text-4xl">
          Welcome
        </h1>
        <p className="mt-3 wrap-break-word text-base text-slate-500 sm:text-lg">
          {email}
        </p>
      </div>
    </div>
  )
}

export default Home;
You should see the home component.
Now, we are all set to add the authentication to our application.
We will show a sign in page to enter the email, create a use if a user doesn’t exist with the email. We will then send email with login link to both new and existing users. We will show the current home page only if the user is logged in.
We will use devise-passwordles gem for adding authentication to our Rails application.
Setting up devise gem
Add devise gem to our application:
bundle add devise
Run the generator:
rails generate devise:install
The above command will generate config/initializers/devise.rb file with necessary configurations and config/locales/devise.en.yml with the translation strings. It will also show a set of post install instructions that needs to be manually taken care of:
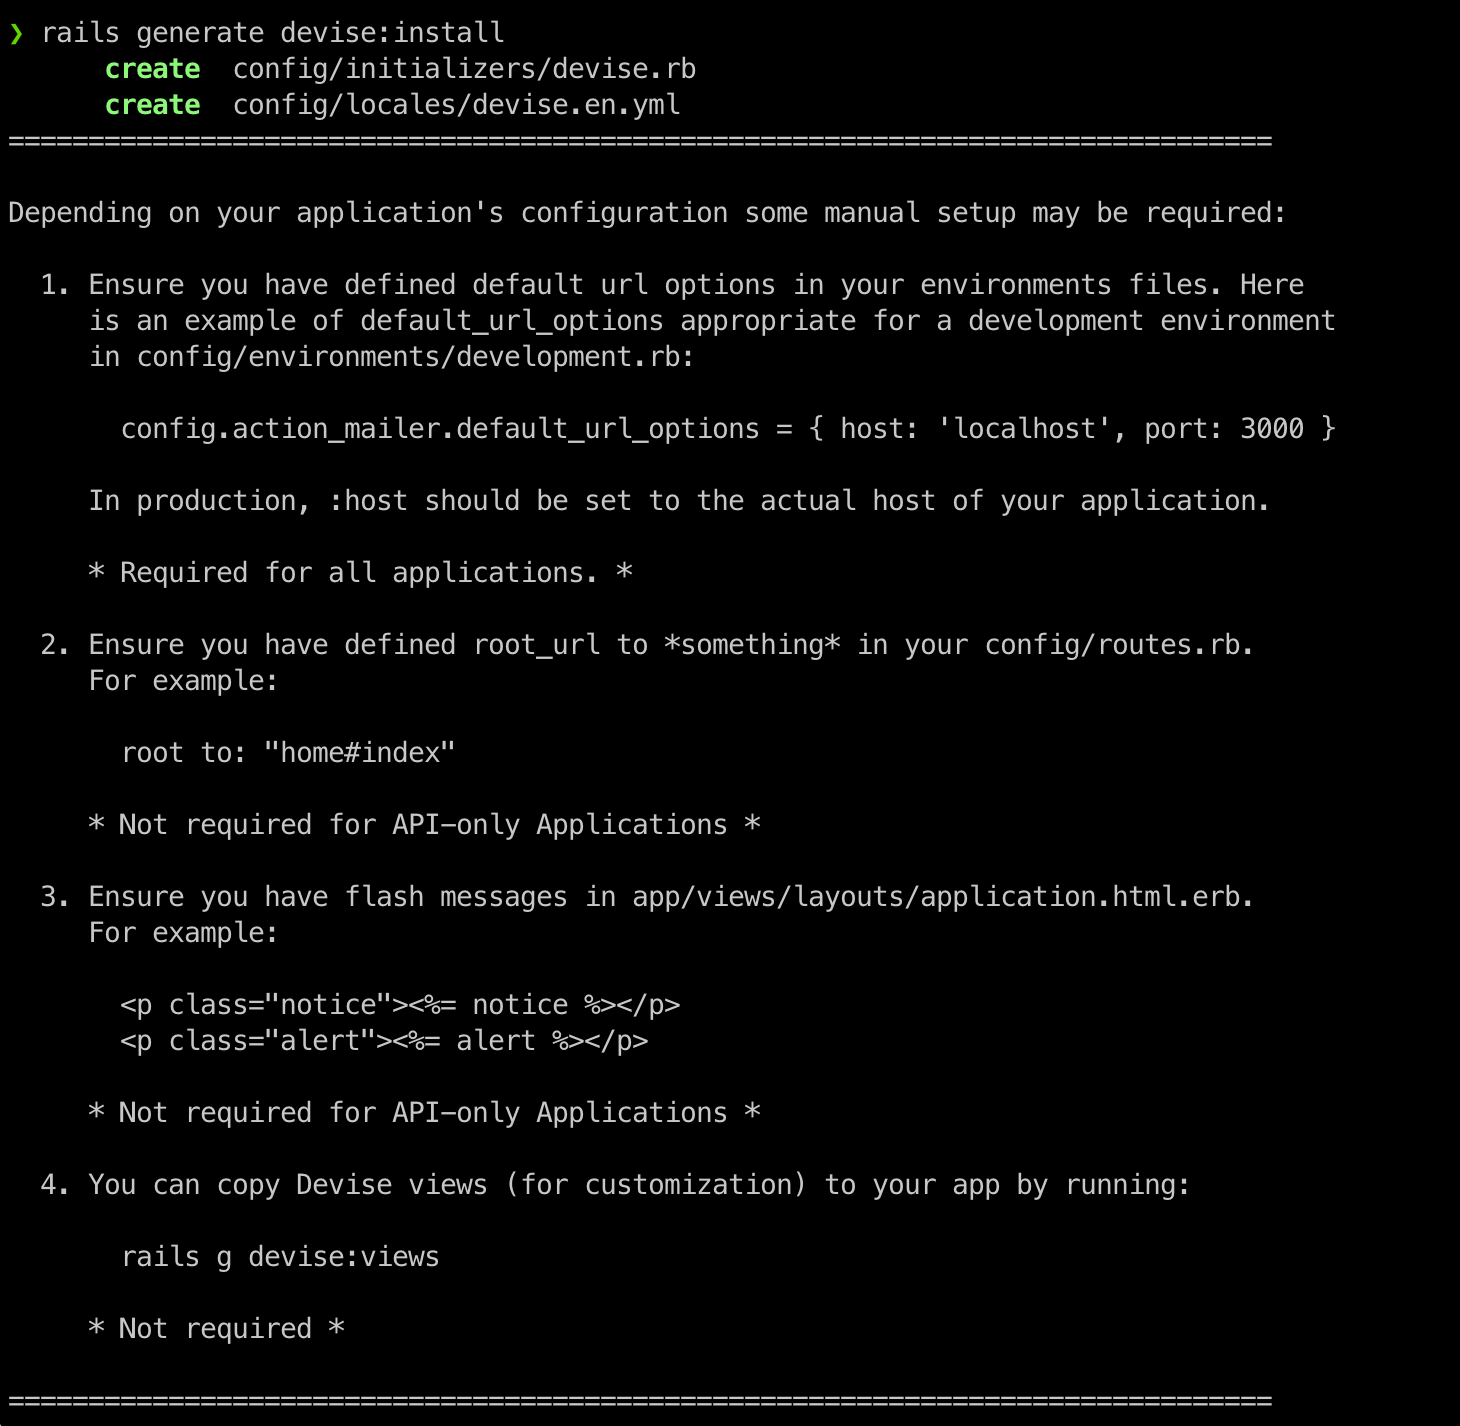
Let’s go through each of them and ensure they are handled as needed in our case:
- Setting the default url options for action mailer: This should already be set in our
development.rbfile during rails app creation process. Since our application is mounted on 3100 port we will update it indevelopment.rb:config.action_mailer.default_url_options = { host: "localhost", port: 3100 } - Defining root url: We have already defined a root url in our application. Our root url points to the home controller welcome action.
- Holder for flash messages: We will add two
ptags to outapplication.html.erbto see the flash messages sent by devise:<p class="notice"><%= notice %></p> <p class="alert"><%= alert %></p> - We will not be copying the devise views, as we will be using React components for UI.
Now, that we have setup devise gem, we will move forward with setting up devise-passwordless gem.
Setting up devise-passwordless
Install and add devise-passwordless to Gemfile:
bundle add devise-passwordless
Run the install generator:
rails g devise:passwordless:install
The above statement will set the devise mailer and passwordless tokenizer in devise configuration file devise.rb , add a mailer for magic link, and add the necessary translation strings in devise.en.yml file.
Setting up devise User resource
Now, let’s generate the User model:
rails generate devise User
You can name whatever is apt for your application for instead of User model here, like Customer, Admin etc.
The above command will generate a User resource and create relevant files.
The generated migration has various fields for the users table related to password authentication. We don’t need them, we kill remove them and keep only the email:
# frozen_string_literal: true

class DeviseCreateUsers < ActiveRecord::Migration[8.1]
  def change
    create_table :users do |t|
      t.string :email,              null: false, default: ""
      t.timestamps null: false
    end

    add_index :users, :email,                unique: true
  end
end
We can now run the db:migrate command to run the migration:
rails db:migrate
Now we will update the User model to just include the concern related to password less login. We will remove all other devise concerns added by the generator:
class User < ApplicationRecord
  devise :magic_link_authenticatable
end
The user model generator command has also added all the devise authentication related routes to routes.rb:
devise_for :users
The above is a short cut method provided by devise gem to add all the session routes to our application instead of listing them. You can see the routes added by devise along with other routes in you application, when you execute rails routes command:
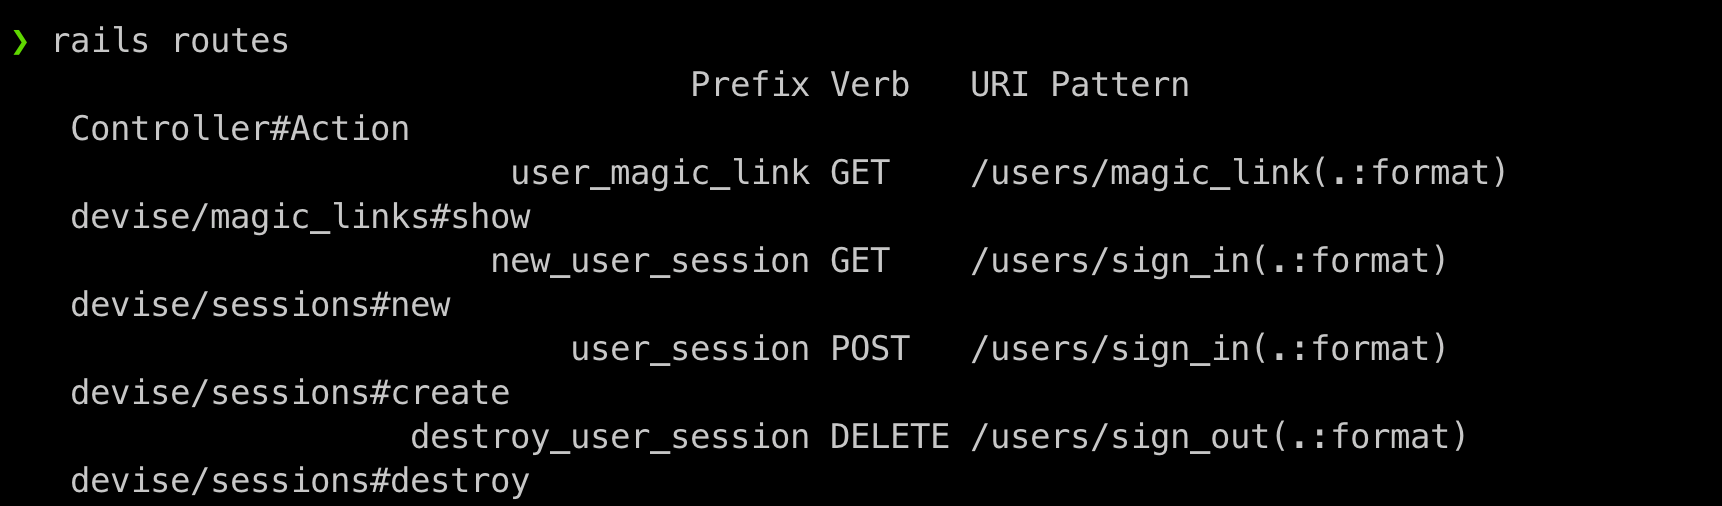
We will override these routes to use the one from devise-passwordless for password-less authentication. Replace devise_for :users with the one given below:
Rails.application.routes.draw do
  devise_for :users,
    controllers: { sessions: "devise/passwordless/sessions" }

  # remaining routes
end
Now, if you visit http://localhost:3100/users/sign_in, you will see a login page.
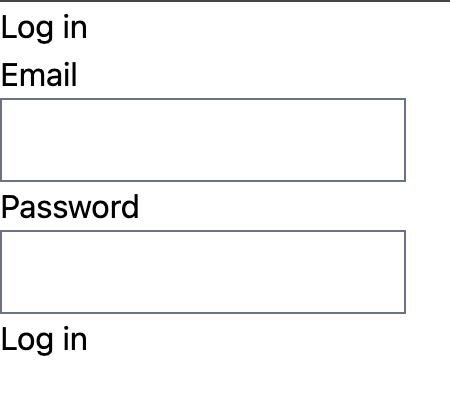
Before testing out the authentication, lets first mount a React component instead of the devise ERB view for the users sign in page.
Adding a react component as login form
First we need to expose the devise sessions controller:
rails g devise:controllers users
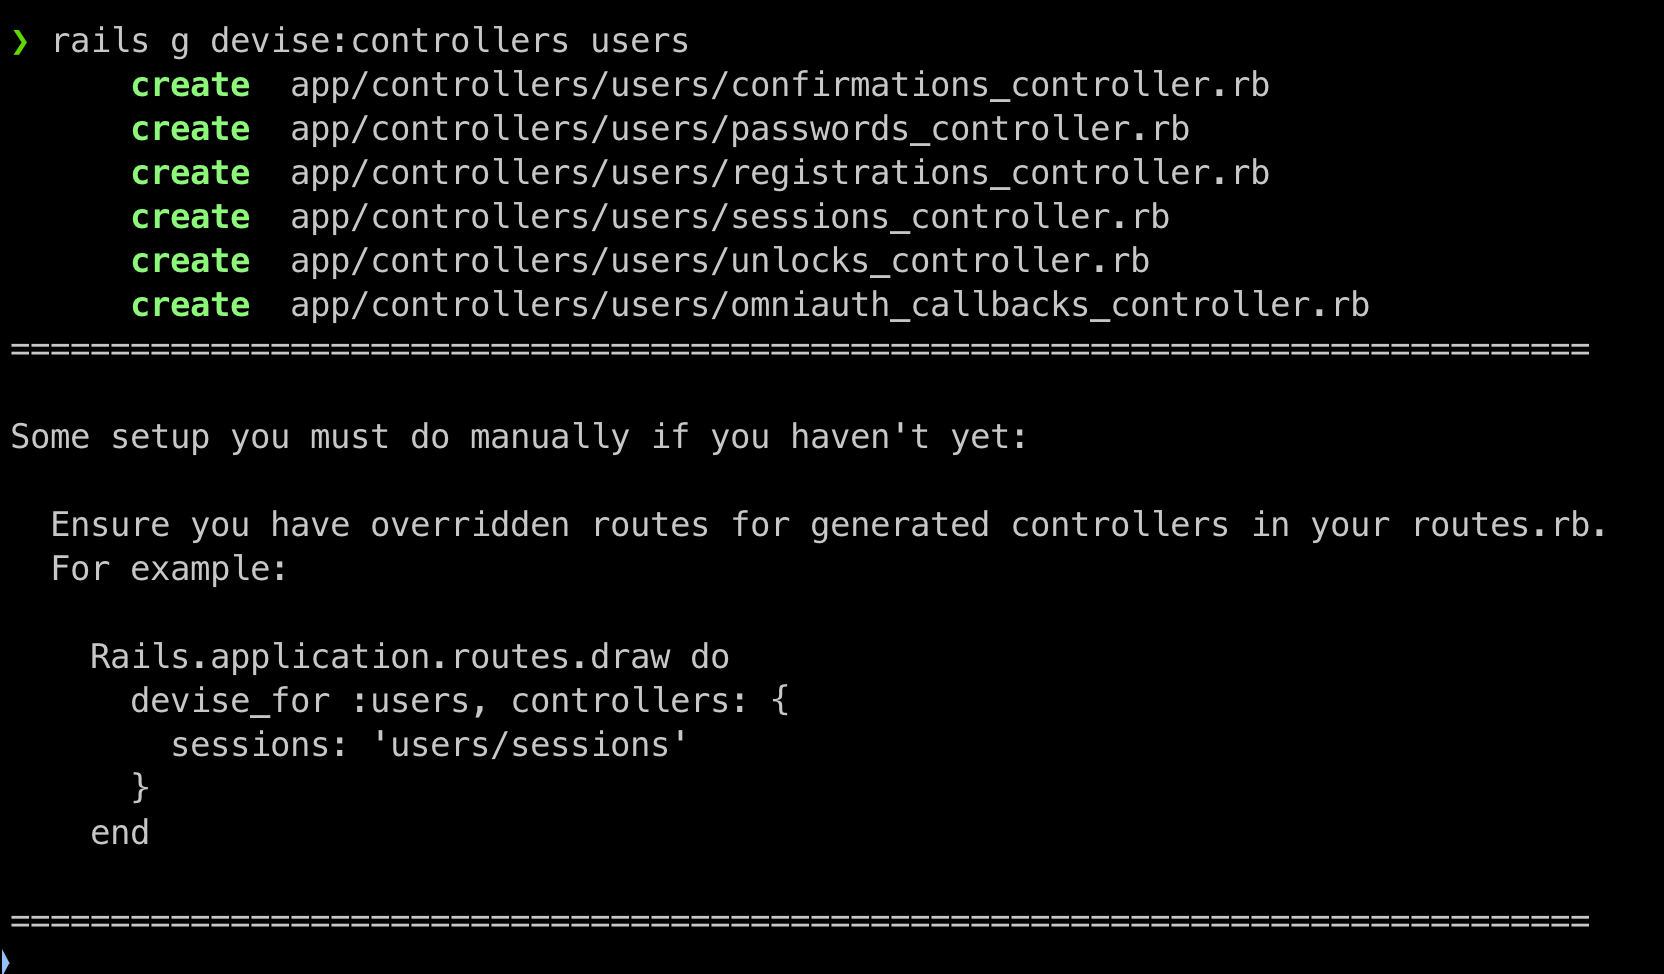
This will generate some controllers in users namespace in our application. We only need sessions_controller. So we will go ahead and remove the remaining controllers.
The generated session controller inherits the devise session controller. Since we are using devise-passwordless gem, we need to inherit the passwordless gem’s session controller:
# frozen_string_literal: true

class Users::SessionsController < Devise::Passwordless::SessionsController
	# some comments generated by the command, which can be removed safely
end
We also need to replace passwordless’s session controller with our users sessions controller:
Rails.application.routes.draw do
  devise_for :users,
    controllers: { sessions: "users/sessions" }
# rest of the routes
end
Now, lets add a new action to session’s controller to render an inertia page component:
# frozen_string_literal: true

class Users::SessionsController < Devise::Passwordless::SessionsController
  def new
    render inertia: {}
  end
end
At last we can add a component at javascript/pages/users/sessions/new.tsx to show the sign in form:
import { Head, Form } from '@inertiajs/react'

const SignIn = () => {
  return (
    <>
      <Head title="Sign in to Magic Link Example" />
      <div className="flex min-h-screen items-center justify-center bg-linear-to-br from-slate-50 to-slate-200 px-4 py-12">
        <div className="w-full max-w-md rounded-2xl bg-white p-8 text-center shadow-xl sm:p-12">
          <h1 className="text-3xl font-bold tracking-tight text-slate-900 sm:text-4xl">
            Sign in
          </h1>
          <p className="mt-3 text-base text-slate-500 sm:text-lg">
            Enter your email to receive a magic link
          </p>
          <Form
            action="/users/sign_in"
            method="post"
            disableWhileProcessing
            className="mt-7 inert:pointer-events-none inert:opacity-50"
          >
            <label htmlFor="email" className="sr-only">
              Email
            </label>
            <input
              name="user.email"
              id="email"
              type="email"
              required
              placeholder="name@email.com"
              className="w-full rounded-2xl bg-slate-100 px-5 py-4 text-slate-900 placeholder:text-slate-400 outline-none transition focus-visible:ring-2 focus-visible:ring-slate-400/50" />
            <button
              type="submit"
              className="mt-4 flex w-full items-center justify-center gap-2 rounded-2xl bg-slate-900 px-5 py-4 text-base font-semibold text-white transition hover:bg-slate-800 focus-visible:ring-2 focus-visible:ring-slate-900/50 focus-visible:ring-offset-2 focus-visible:ring-offset-white active:translate-y-px"
            >
              Send magic link
            </button>
          </Form>
        </div>
      </div>
    </>
  );
}

export default SignIn;
Note that we have used the Form component from inertia and mentioned the action as users/sign with method post and also set the name for the input element to user.email for the backend to pick the email correctly.
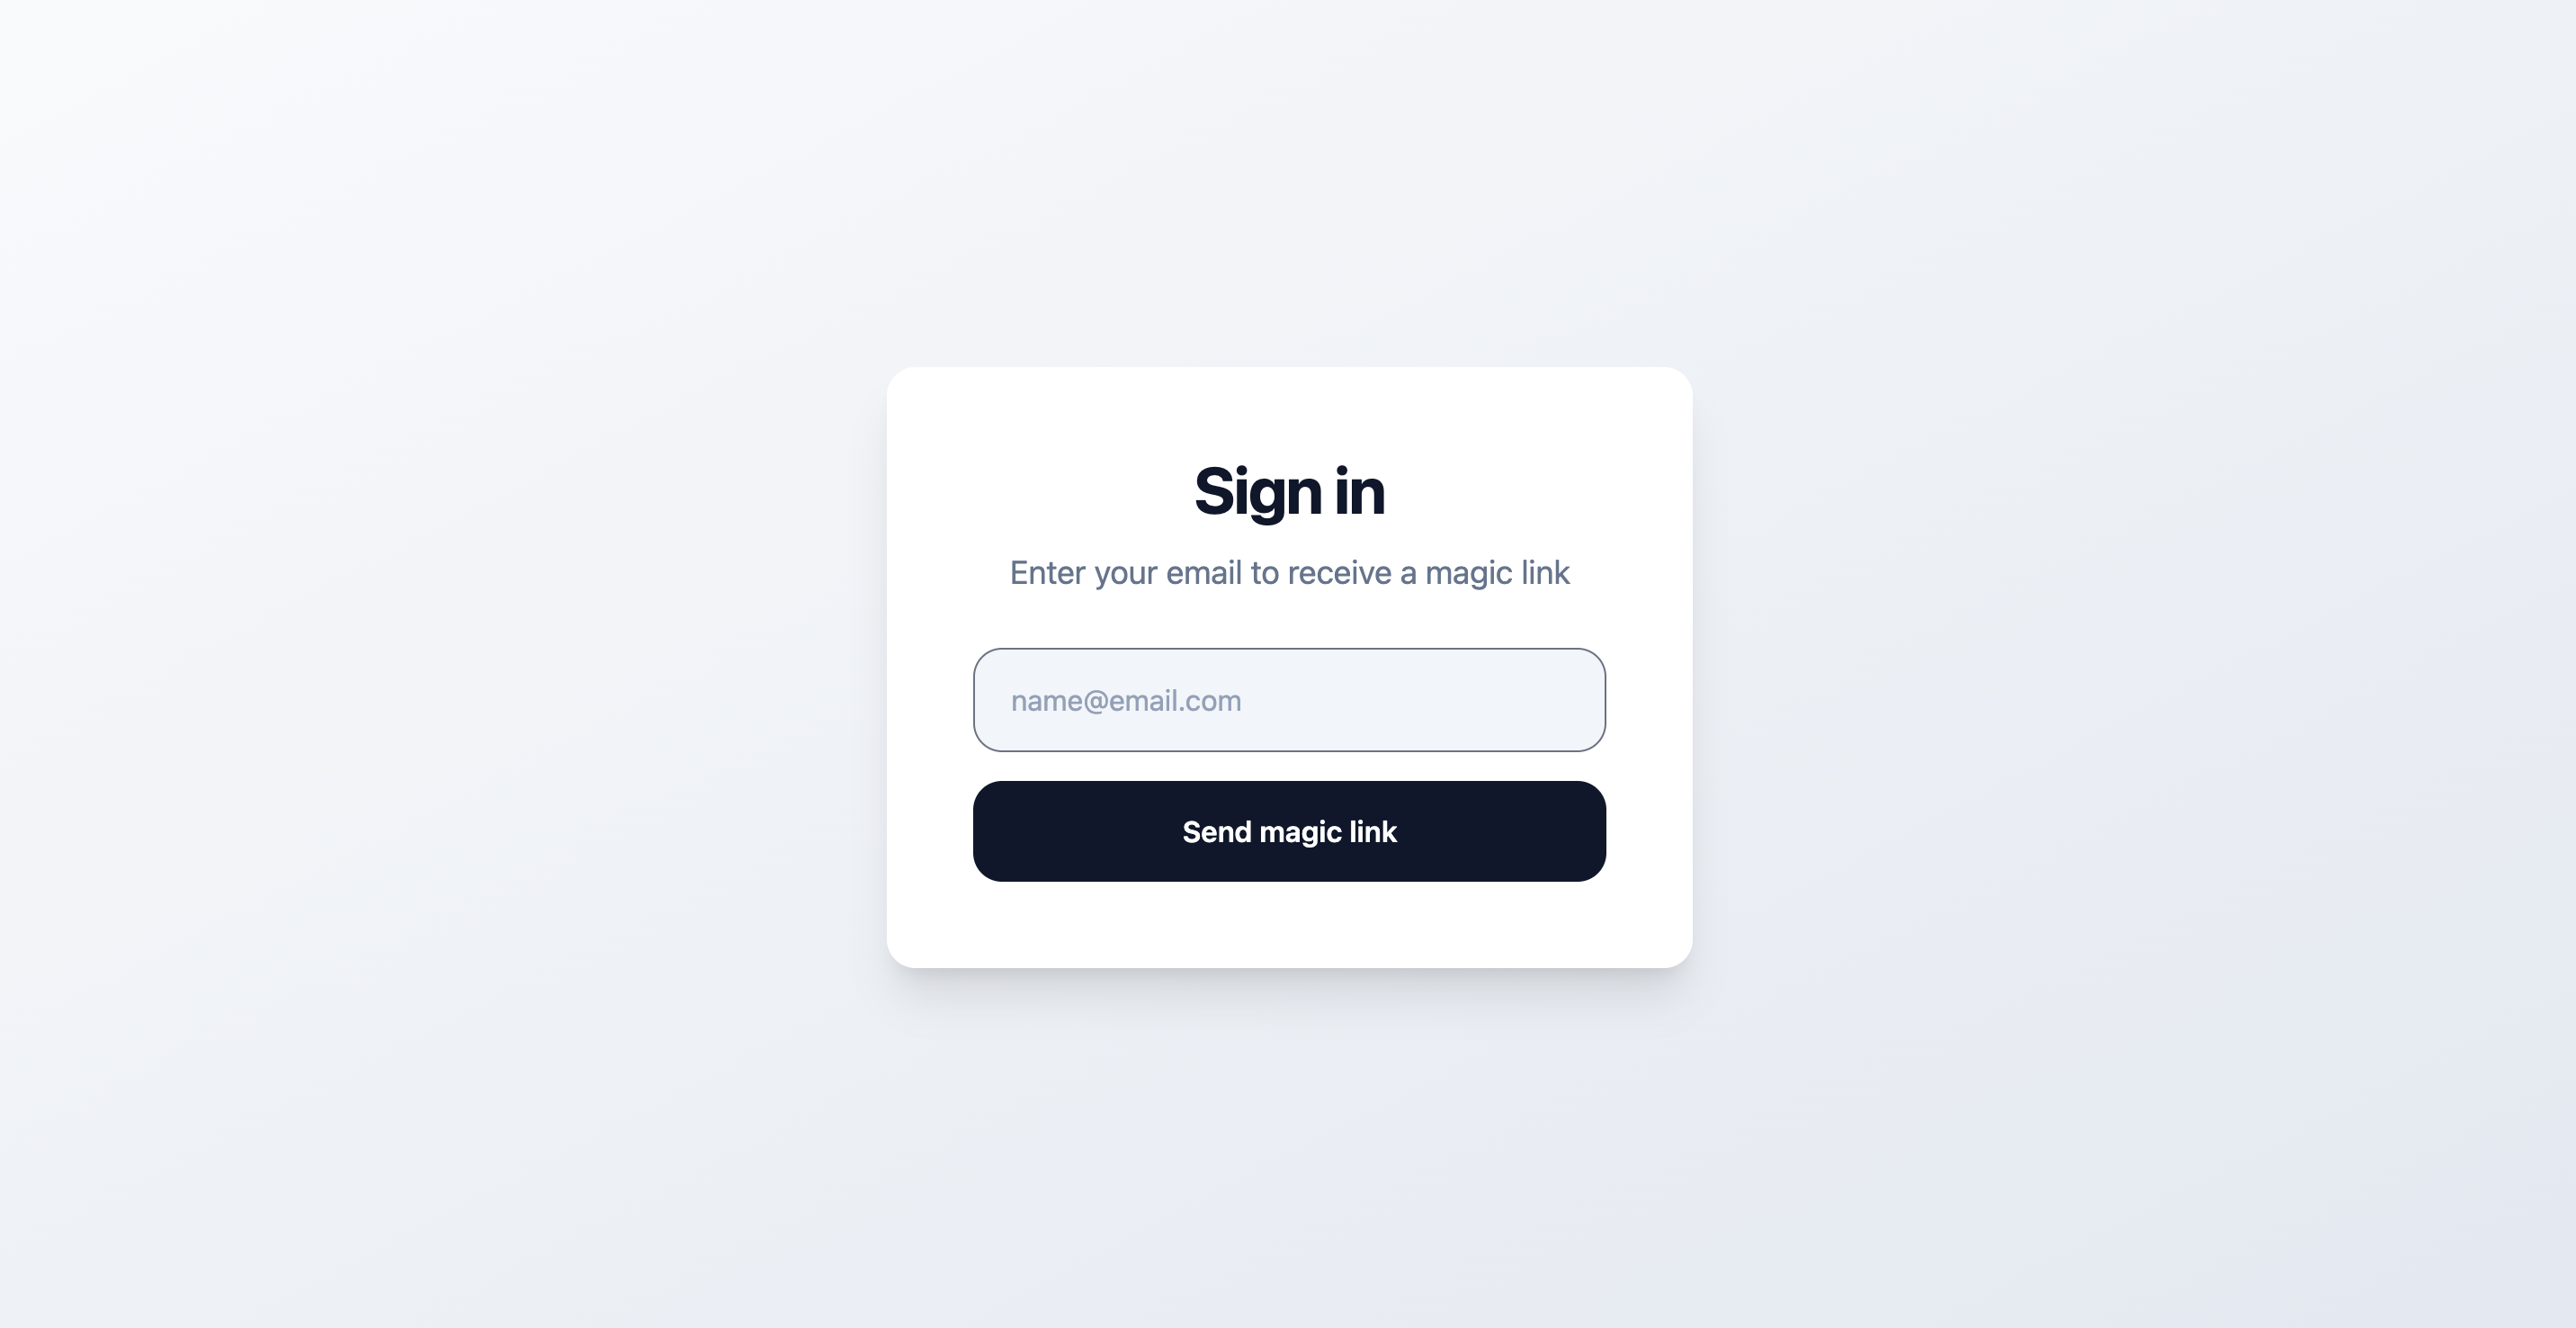
Now, restart the server and head to http://localhost:3100/users/sign_in the form will look like this:
Testing out authentication
Let’s test out login entering an email:
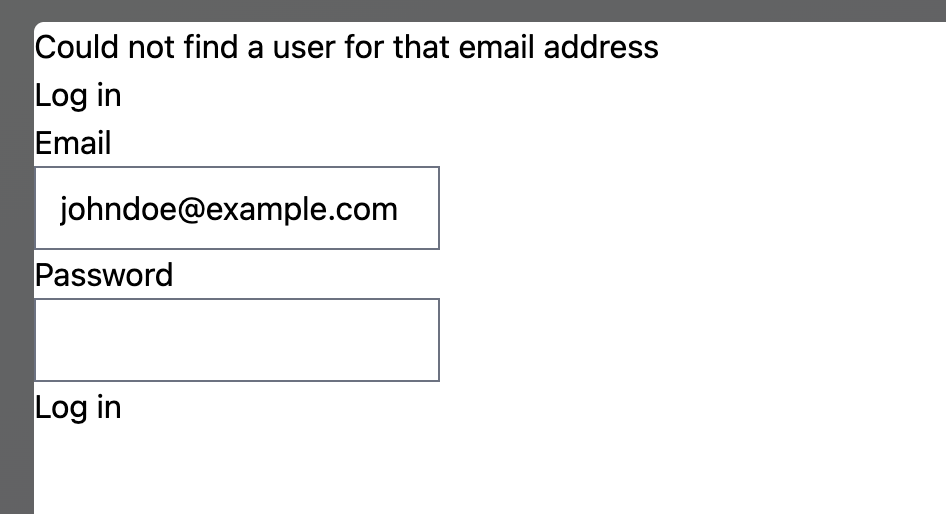
Oops! We got into an error saying “Could not find a user …”. Let’s investigate why this is happening.
Fixing user not found error
Let’s look into the the Devise::Passwordless::SessionsController ‘s create action:
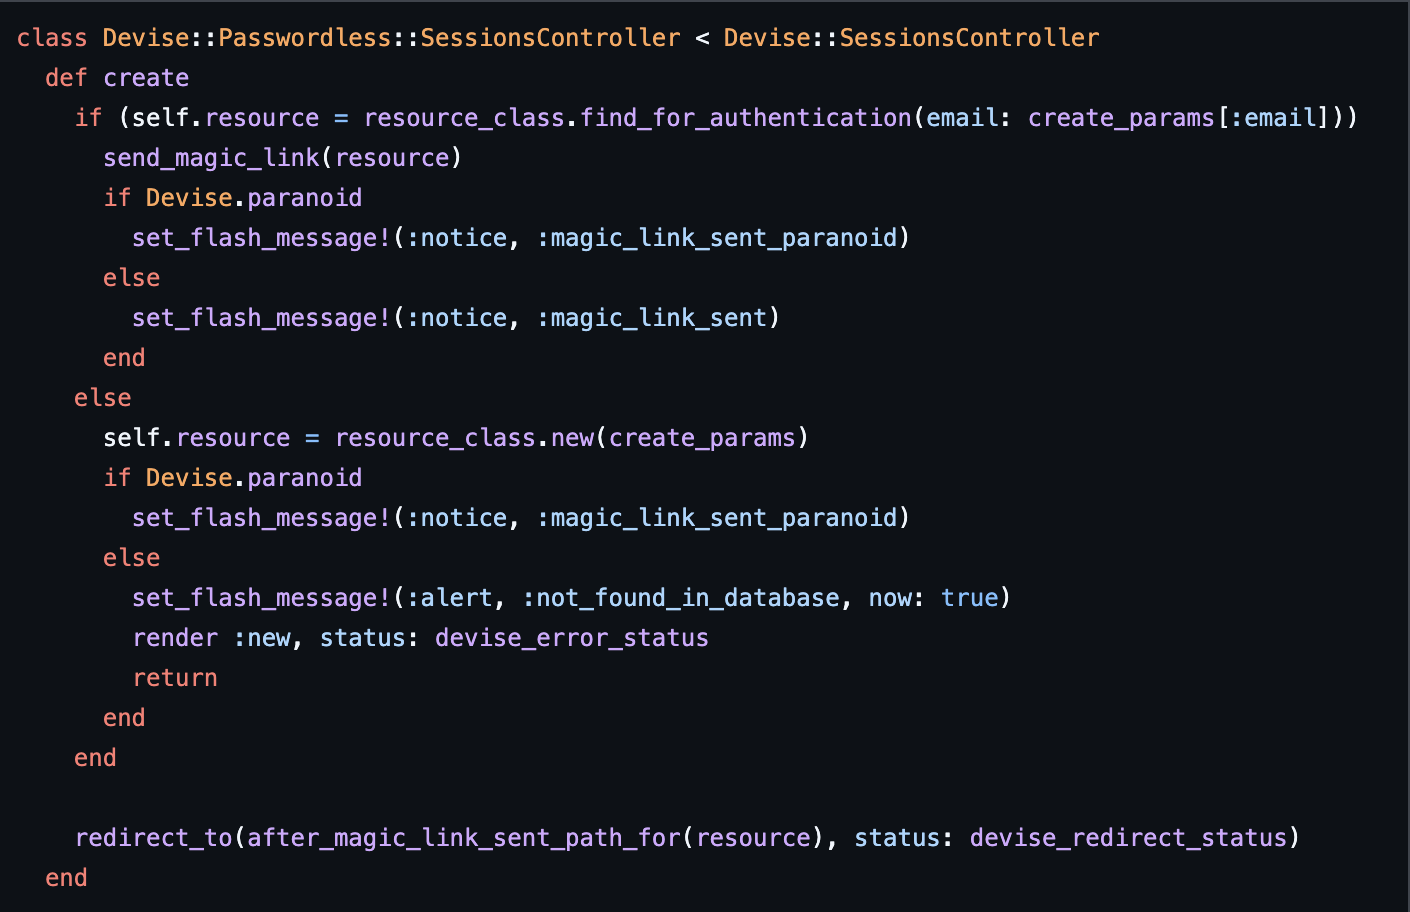
As you can see from the above code, devise-passwordless session controller only sends a magic link for already existing users. To solve this either we have to wire a separate user registration flow to create a user or override this behaviour to create a user and send magic link for new users. We will follow the later approach of overriding this behaviour, by adding this code to check for user record and create a user and send magic link, if the user exists we will call the super to use the default Devise::Passwordless::SessionsController#create behaviour:
  def create
    user = User.find_or_initialize_by(email: params[:user][:email])
    if user.new_record?
      user.save
      user.send_magic_link
      flash[:notice] = "We've sent you a magic link to complete your registration. Please check your email."
      redirect_to after_magic_link_sent_path_for(user)
    else
      super
    end
  end
Now , try logging in again, you should have been redirected to root path.
There are some issues here:
- The email is not delivered
- After entering the email you are redirected to root. Because we haven’t define the after_magic_link_sent_path_for.
- The root path should not be accessible until the user logs in using the magic link.
Lets’s solve them one by one
Setting up letter opener to preview email
Add letter_opener gem:
bundle add letter_opener
Add the configuration to use letter opener in development.rb:
config.action_mailer.delivery_method = :letter_opener
config.action_mailer.perform_deliveries = true
Now, restart your server and the sign in should open the mail with magic link in the browser:
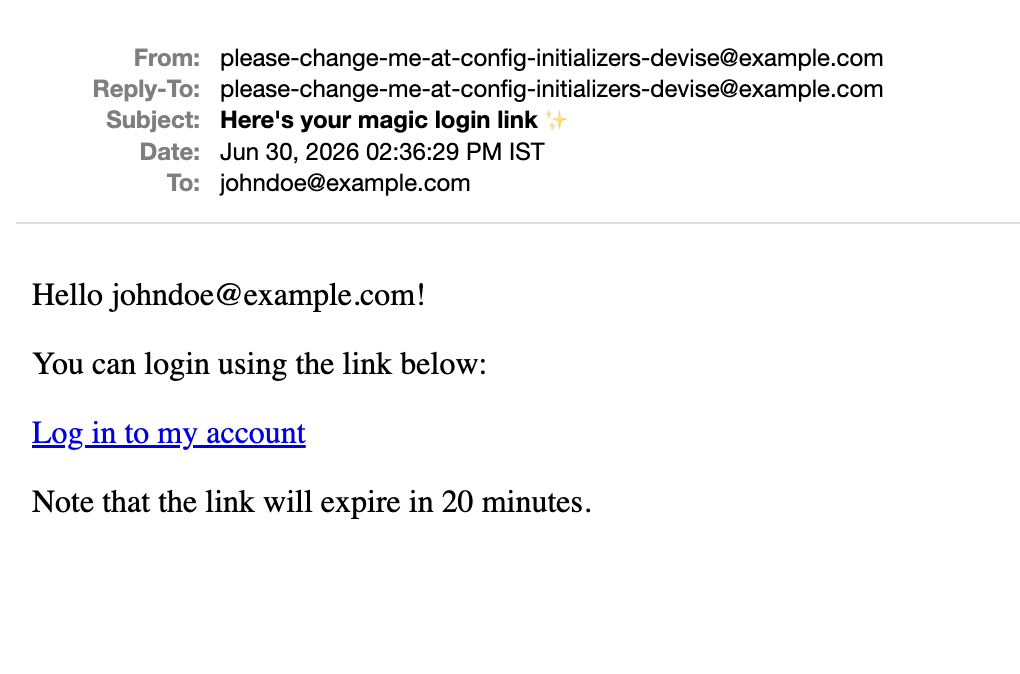
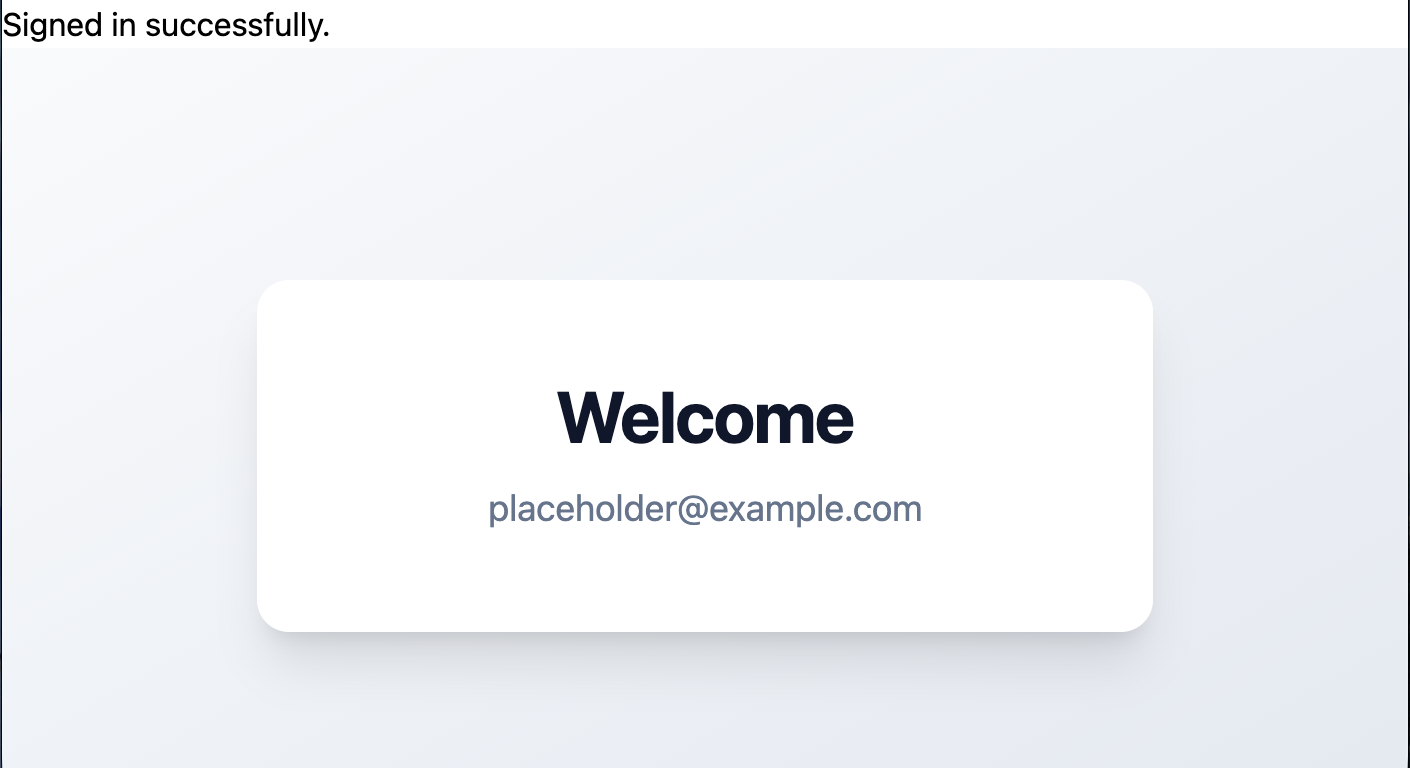
Clicking on the link should take you to the root path and will show a signed in successfully message:
Fixing the user email displayed
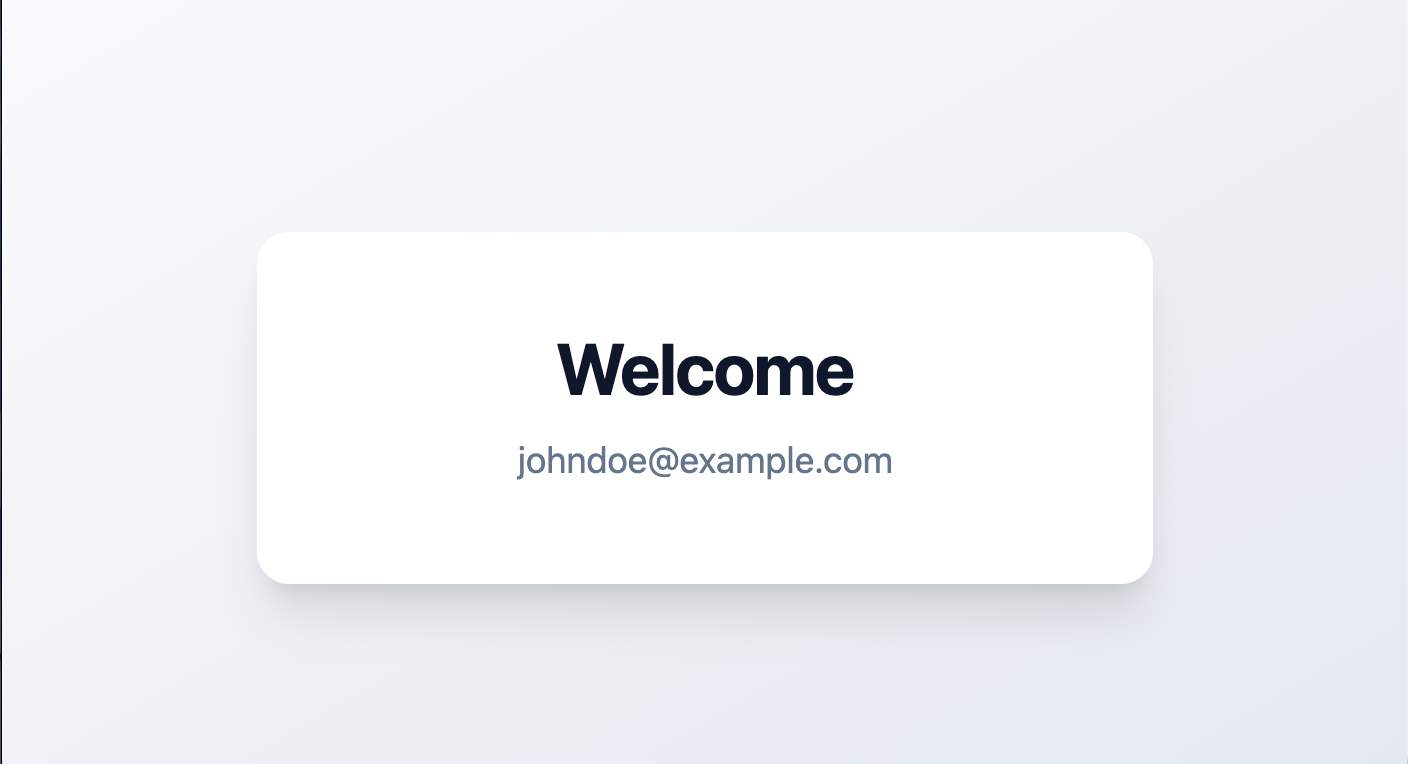
Now, we can sign but one little thing more, we need to show user email, let’s update the welcome action to send the current user email:
class HomeController < ApplicationController
  def welcome
    render inertia: { email: current_user.email }
  end
end
We can see the current users email address on refresh:
Setting up magic link sent path
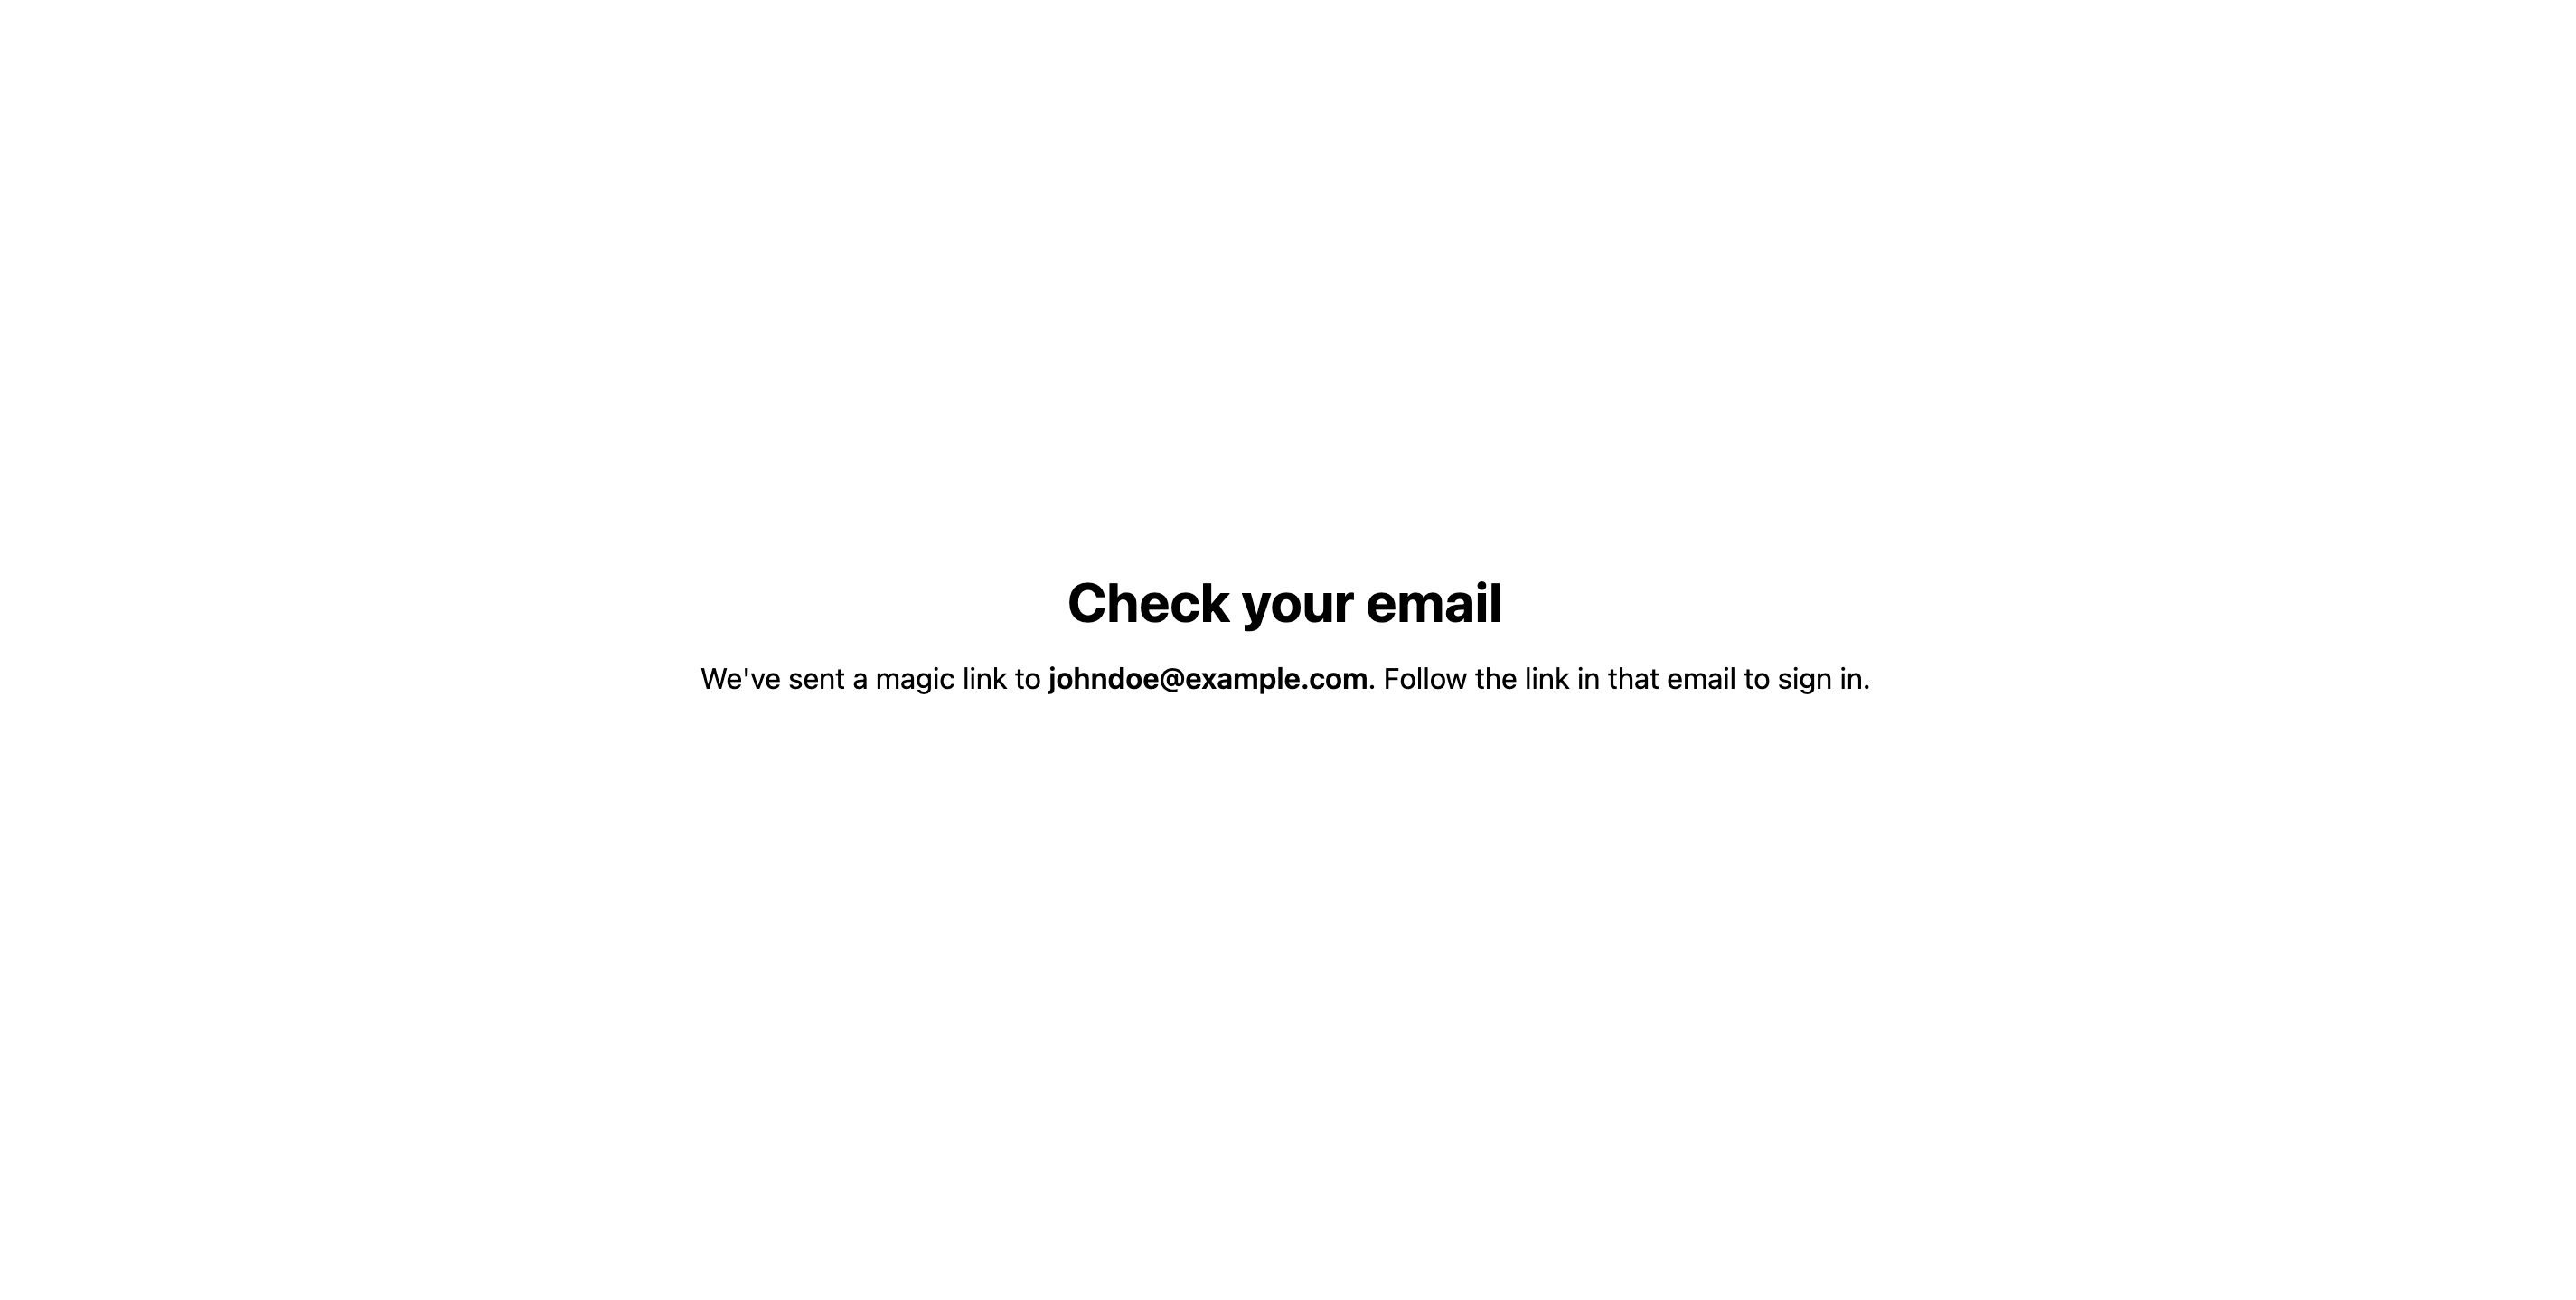
Let’s add a magic_link_sent controller action to render a view to inform user that the magic link is on its way:
  def magic_link_sent
    return redirect_to root_path if user_signed_in?

    render inertia: { email: params[:email] }
  end
Point the after_magic_link_sent_path to magic_link_sent_path:
protected

def after_magic_link_sent_path_for(resource_or_scope)
  magic_link_sent_path(email: resource_or_scope.email)
end
Add route for the magic_link_sent path to routes.rb:
  devise_scope :user do
    get "users/sign_in/magic_link_sent", to: "users/sessions#magic_link_sent", as: :magic_link_sent
  end
Add the component to render on the above path in pages/users/sessions/magic_link_sent.tsx:
import { Head } from '@inertiajs/react'

const MagicLinkSent = ({ email }: { email: string }) => {
  return (
    <>
      <Head title="Magic link sent" />
      <div className="flex min-h-screen items-center justify-center bg-white px-4 py-10">
        <div className="w-full max-w-2xl text-center">
          <h2 className="text-4xl font-bold text-black">
            Check your email
          </h2>
          <p className="mt-6 text-lg text-black">
            We've sent a magic link to{' '}
            <span className="font-bold">{email}</span>. Follow the
            link in that email to sign in.
          </p>
        </div>
      </div>
    </>
  );
}

export default MagicLinkSent;
Now, clear the cookies and sessions, then check the users/sign_in path and enter the email, along with receiving email, you could see the above magic link component rendered:
Restrict access to app logged in users
Add a before action to authenticate user using the authenticate_scope helper in application controller:
before_action :authenticate_user!
We need to skip authentication for session controller actions:
skip_before_action :authenticate_user!, only: %i[new create magic_link_sent]
Let’s wrap this up by adding a logout feature as well:
Logout feature
Update the welcome component to include a logout button:
import { Link } from "@inertiajs/react";

const Home = ({ email }: { email: string }) => {
  return (
    <>
      <div className="flex justify-end border-b border-slate-200 bg-white px-6 py-3">
        <Link
          href="/users/sign_out"
          method="delete"
          as="button"
          className="rounded-2xl border border-slate-300 bg-white px-4 py-2 text-sm font-semibold text-slate-700 transition hover:bg-slate-100 focus-visible:ring-2 focus-visible:ring-slate-400/50 active:translate-y-px"
        >
          Logout
        </Link>
      </div>
      <div className="flex min-h-screen items-center justify-center bg-linear-to-br from-slate-50 to-slate-200 px-4 py-12">
        <div className="w-full max-w-md rounded-2xl bg-white p-8 text-center shadow-xl sm:p-12">
          <h1 className="text-3xl font-bold tracking-tight text-slate-900 sm:text-4xl">
            Welcome
          </h1>
          <p className="mt-3 wrap-break-word text-base text-slate-500 sm:text-lg">
            {email}
          </p>
        </div>
      </div>
    </>
  );
};

export default Home;
To redirect user to sign in path after logout, we will configure after sign out path in session’s controller, under protected methods:
  def after_sign_out_path_for(resource_or_scope)
    new_user_session_path
  end
Hooray! 🎉 We have added a login feature using magic link.